How to Install and Run Windows 7 in Android
1

Windows 7 was famous operating system around the world, The versions Windows are Windows 95, Windows XP, Windows Vista, Windows 7, Windows 8 and Windows 10. Windows 7 operating system was released to the world in 2009 and after decades of inovation we can now run it android smartphones, you can this operating in your handheld android devices using termux.
Windows 7 operating system might be lagged in some of the smartphones whose processor and ram is not so good so keep that in mind.
The file which we are using for this is qcow2 file which is image file for
running the operating systems in qemu, and qemu is linux oriented virtual
environment specifically built to run in linux devices in short you can tell
like it is the Vmware or Virtual box of linux devices.
Requirements :
1. Fx File Explorer. (Click Here to Download)
2.Termux. (Click Here to Download)
4.Vnc Viewer. (Click Here to Download)
6.Commands file. (Click Here to Download)
Method:
Installation of Apps and other files:
- Install download and install all the first four mentioned above apps for this tutorial.

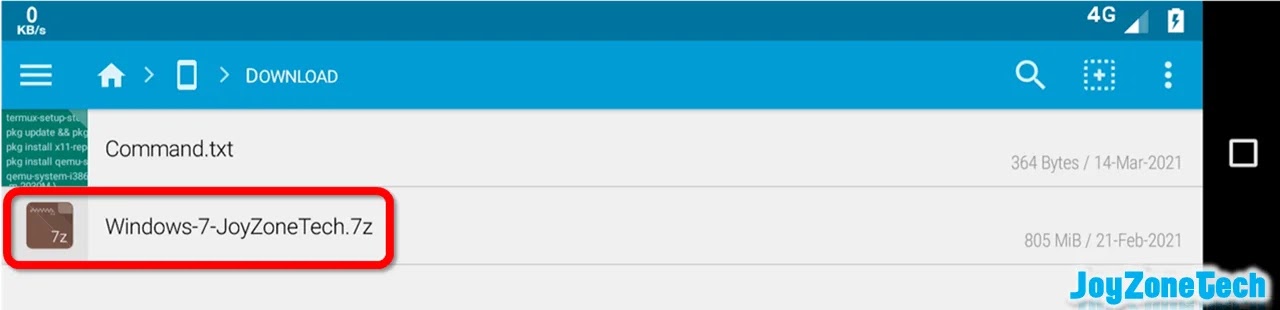
- Download the Zip file of Windows 7, This file is very important in this tutorial.
Extraction of Windows File:
- First open the Fx browser app, go to downloads folder and select the Windows 7 zip file.
- Open the Zip file with ZArchiver app.
- Select the all the files and click extract button to extract the files.
- Wait for the extraction to complete, the extraction takes around 15-30 min as it is approximately 1.8 GB in Size.
- After the extraction is completed, You will get a Disk folder which will act as a external storage.
- Now open the Termux app and type clear to clear the screen.
- Now type the following commands:
- Command:
termux-setup-storage
This command will give storage access to termux.
- Command:
pkg update && pkg upgrade
This command will update all the packages.
- Command:
pkg install x11-repo
- Command:
pkg install qemu-system-i386
This command will install qemu packages especially qemu-i386 which are necessary to run the system in android.
- Command:
qemu-system-i386 \
-m "Provide ram ranging from 400-2047M" \
-cpu max \
-smp 2 \
-vga vmware \
-hda "copy and paste the path of your downloaded and extracted qemu image file" \
-device rtl8139,netdev=n0 -netdev userid,id=n0 \
-drive file=fat:rw:"copy and paste the path of Disk folder" \
-vnc 127.0.0.1:3
-m "Provide ram ranging from 400-2047M" \
-cpu max \
-smp 2 \
-vga vmware \
-hda "copy and paste the path of your downloaded and extracted qemu image file" \
-device rtl8139,netdev=n0 -netdev userid,id=n0 \
-drive file=fat:rw:"copy and paste the path of Disk folder" \
-vnc 127.0.0.1:3
Example:
- Command:
qemu-system-i386 \
-m 2030M \
-cpu max \
-smp 2 \
-vga vmware -full-screen \
-hda /storage/emulated/0/Download/Windows7.qcow2 \
-device rtl8139,netdev=n0 -netdev userid,id=n0 \
-drive file=fat:rw:/storage/emulated/0/Download/Disk \
-vnc 127.0.0.1:3
-m 2030M \
-cpu max \
-smp 2 \
-vga vmware -full-screen \
-hda /storage/emulated/0/Download/Windows7.qcow2 \
-device rtl8139,netdev=n0 -netdev userid,id=n0 \
-drive file=fat:rw:/storage/emulated/0/Download/Disk \
-vnc 127.0.0.1:3
This command will help you to run and connect the qemu system to Vnc viewer app

Configuring & Connecting to VNC:
- Open the vnc viewer app after click Enter on the above command.
- Click on "+" Sign to create a new connection, Enter the value as follows.
- Address => 127.0.0.1:3
- Name => Windows 7
- Click on Connect, and wait for the connection to establish.
- Wait for the booting process to complete, Booting process could take around 10-15 min for first boot and 2-3 min for next run.
Starting and Exploring Windows 7:
- Windows 7 desktop will be displayed and you can have all the features of windows 7 in this image file.

- Open My Computer and Open the QEMU VVFAT (E:) Disk.

You will see that the same file which was in Disk folder of android storage has appeared in this Disk folder of Windows 7 which means we can use this Disk folder external folder to connect Android storage.
- Open the Web browser, In my case I will be opening Fire fox browser, browse the internet to check whether internet is working in Windows 7 or not.
Fixing Network Issue:
- If it is not working, here is the solution.
- Go to Start=>Control Panel=>Network=>Click on your network=>Disable and Enable the network.
Playing Games on Windows 7:
- You can also play old classic games of Windows 7.

Shutting Down Windows 7:
- Shutdown the Windows 7 and go to Termux, Press Control + C key to stop the Windows XP connection.
So this was the tutorial blog for running Windows 7 in android
using Termux.
If you like this tutorial you would also like tutorial blog of
running Windows-95
in android.
If you want to watch the tutorial of this method, Just click on the
play button below.